Using Class Tracking In QuickBooks
Many small businesses have chosen to use QuickBooks as their bookkeeping solution because of its ease of use, comprehensive application, and user-friendly management tools.
QuickBooks class tracking is one of the tools that small businesses find most beneficial to their financial success. Utilizing classes is also an excellent method for grouping transactions together by a defined, shared relationship.
This is totally different from account coding. A big mistake is thinking that class tracking must be used; that is totally false.
With some businesses class tracking just doesn't make sense and isn't necessary. However, if you find an applicable way to use class tracking it can be a valuable tool.
QuickBooks class tracking can be established to track:
- service types
- types of clients
- individual divisions of a single business
- different partners that work together in a single service firm
- sources of income
- activity at separate office locations
Once you establish QuickBooks class tracking you'll want to:
- analyze your business's individual needs before creating and establishing any classes
- consistently use class tracking for all transactions to produce reliable and accurate reports
- generate Profit & Loss statements for each class by assigning classes for both expenses and income
- consider using "other" if the transaction doesn't easily fit into a defined class
- establish a class of "unclassified" for transactions that have not yet been categorized
Since QuickBooks is a comprehensive program for your small business' bookkeeping needs, there are many features that are highly useful but may be overlooked.
When you consider your business' current bookkeeping status, how would using class tracking improve the information you're receiving from QuickBooks?
Utilizing Classes in QuickBooks Online
As a business grows and changes, it is essential to upgrade procedures. Using options in QuickBooks Online is one way to leverage accounting tools to ensure proper and accurate reporting. One opt-in is class tracking.
The Difference Between Class Tracking and Other Tools
With the evolution of technology, modern businesses possess many programs at their fingertips. Revolutionary alternatives are only effective when users understand the options.
Tags
Tags are a relatively new opt-in for QBO. They are used more casually than many other tracking tools as they don't affect books. Tags are grouped by events. An example of this is a group called 'Company Luncheon.' The tags for these transactions would all be related to the company luncheon. You can use multiple tags for each transaction. Tags for the group would be Company Luncheon: Food, Company Luncheon: Decorations, Company Luncheon: Venue, and so on.
You won't find tags in most of the reports available. The only reports that show tags are 'Transaction List by Tag Group' and 'Profit and Loss by Tag Group.'
Custom Fields
Custom fields are similar to tags but are usable for customers, employees, transactions, items, and vendors. A custom field is usually best suited for transactions with distinctive markers such as a purchase order number.
Locations
Location tracking is helpful for companies with multiple locations, campuses, departments, offices, stores, etc. It helps find the income for each area.
Projects
For job costing, the project tracking feature works best. It allocates income and expenses to a specific job or project.
Classes
Classes are unique in that they are great for seeing comparison columns on a Profit & Loss statement. Business owners can match expenses with the revenue streams they are associated with.
The only problem is that you have to use them for everything once you start using classes. As a permanent tracking feature, they don't work for time-sensitive projects.
How To Turn On Class Tracking in QBO
Class tracking is only available in QBO Plus and Advanced. It is an opt-in tool, so you will need to turn it on in your program. To activate class tracking:
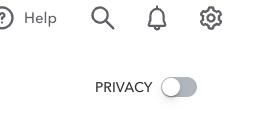
- In the top right-hand corner, click on the small gear image. This is the settings dropdown.
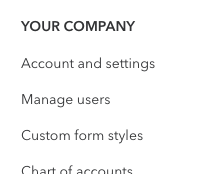
- From the dropdown, choose 'Accounts and settings.'
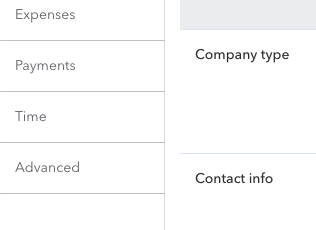
- Select 'Advanced' from the bottom of the left-hand menu.
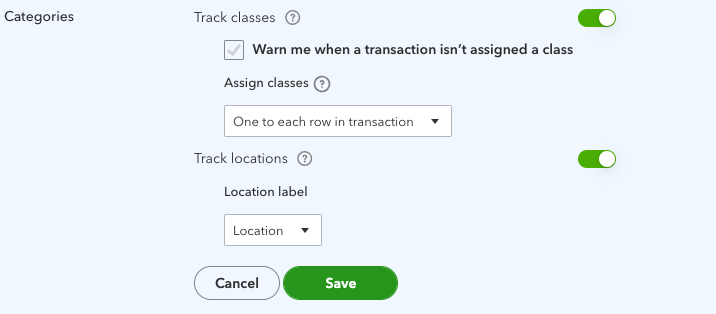
- Next, choose 'Categories' to edit.

- Put a checkmark in the 'Track classes' and 'Warn me when a transaction isn't assigned a class' boxes.

- In the ' Assign classes' section, select 'One to entire transaction' or 'One to each row in transaction'.

- Choose 'Save' and then 'Done'.
Creating a Class List
Remember to keep your classes simple and straightforward to avoid confusion. You can add, delete, or reactivate a class:
Add a class:
- Go to the settings gear image in the top right-hand corner.

- Go to 'All Lists' and then to 'Classes.'


- Select 'New' and create the class.

- If you wish to use subclasses, choose that. You can add up to five subclasses.
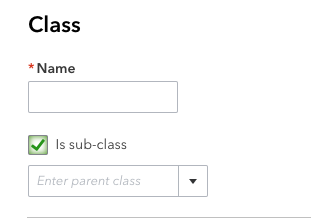
- Lastly, click 'Save.'
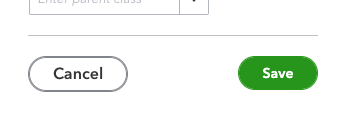
Delete a class:
- Again, go to 'Settings" and 'All Lists.'
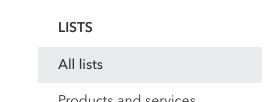
- Click on 'Classes' and locate the class you want to delete.

- On the dropdown next to 'Run Report,' click on 'Make Inactive.'
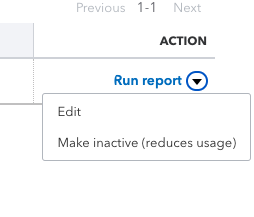
- You can reactivate a class later if need be.
Reactivate a class:
- From the 'Settings' window, choose 'All Lists.'

- Choose 'Classes'.

- Next to the print icon, choose 'Settings' and 'Include Inactive.'
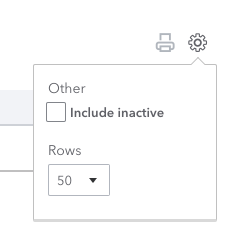
- Find the class you want to reactivate and click on 'Make Active.'
For QBO Payroll Class Tracking
If you are using QBO Payroll, adding the class tracking feature may be helpful. You can use the same class for all employees or create different categories for various employees. That way you can track how much you're spending for each type of employee.
Class tracking, when used correctly, is a handy tool for business owners to get a more accurate snapshot of profitability.

Comments